In almost every project, you will need to reference some sort of files. Of course, the files you reference will be AutoCAD files (.DWG), but sometimes these file types could be .PDF, .DGN, point clouds, and coordination files. In this article, I will go over seven of my top tips and tricks for working with AutoCAD DWG reference files.
Contents
The Basics: Attaching DWG References
Before we get into the tips, let’s go over the basics of properly attaching DWG references. First, make sure you are on a unique layer for references before you attach a DWG file. If you set the variable XREFLAYER in your default drawing template (.DWT), all DWG references will go on that layer.

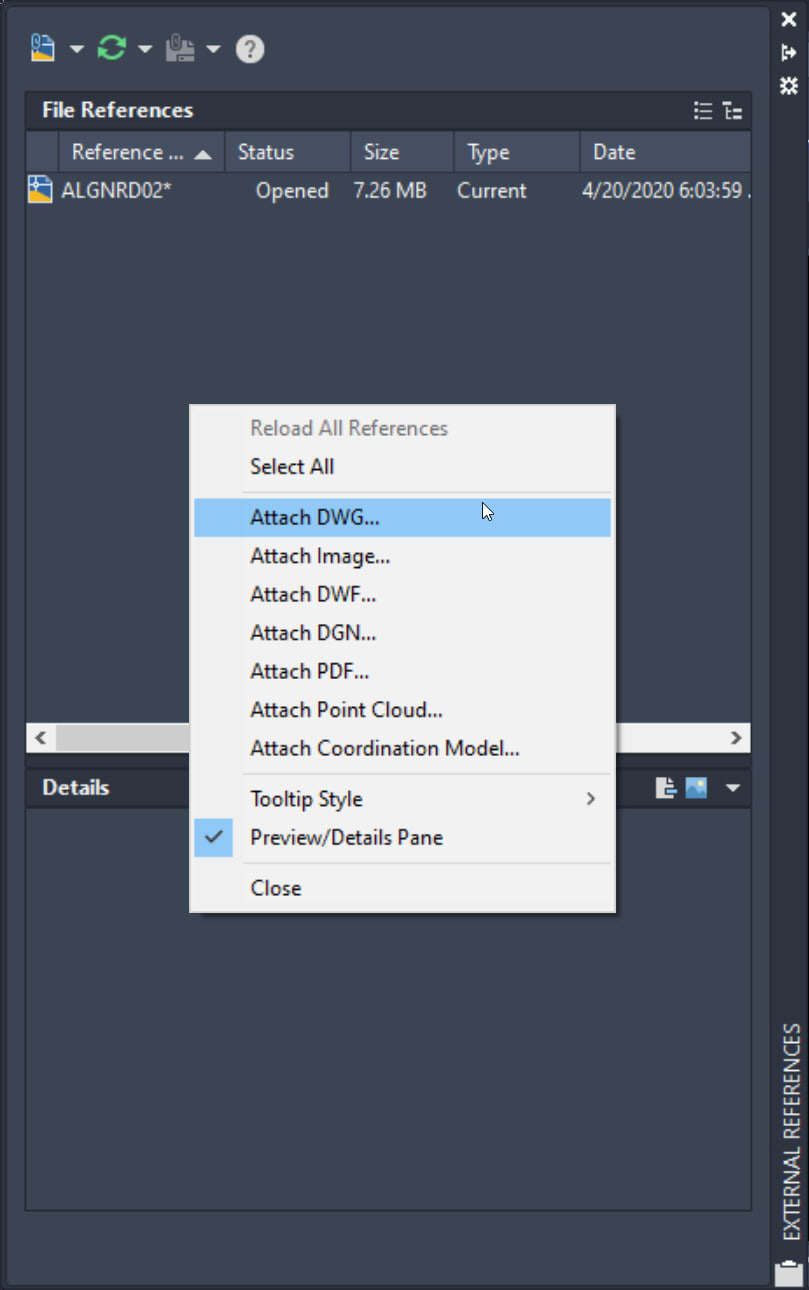
To attach a reference, navigate to the External Reference palette (Type XR in the command line), right-click anywhere in the gray area, and choose Attach DWG from the context menu.
Now, when attaching DWG files, there are some very important settings you should be aware of and set properly.
The first is the Path type. You should always set this to Relative. Setting the Path type to Relative enables you to move your project around as well as send your project to anyone else. And, as long as the project folder structure stays the same, the DWG references will be found.
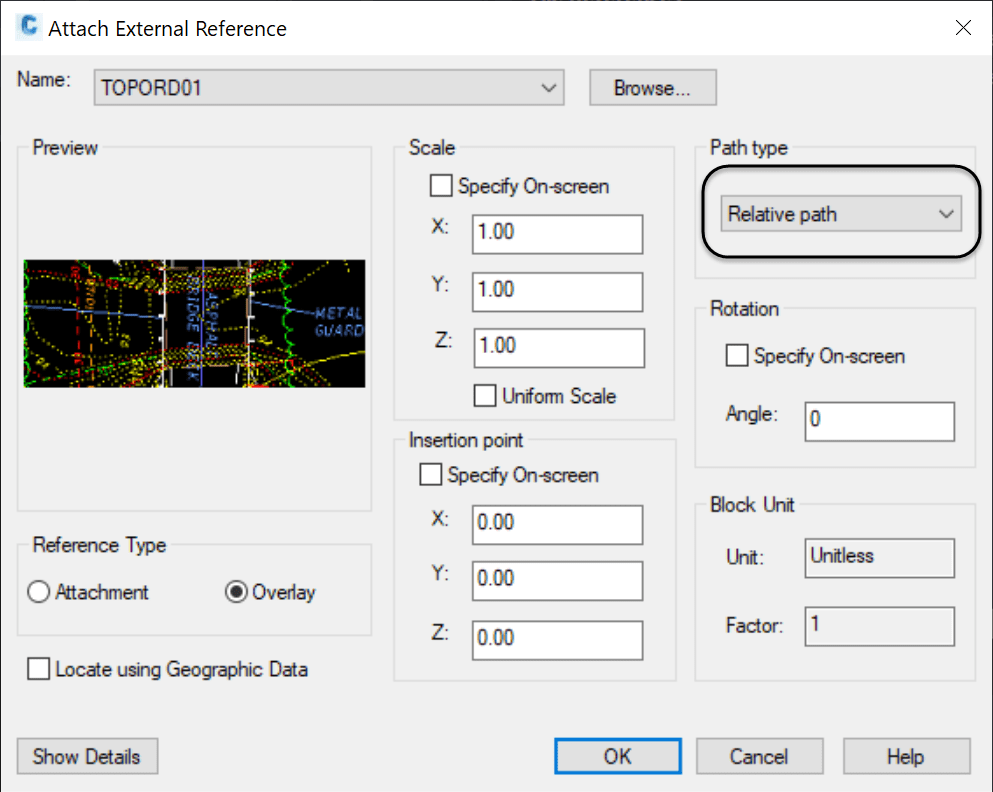
The next setting is the Reference type.
It is best to use the Overlay reference type option. If you use Attachment instead of Overlay, you will then get any other files the other files are referencing. It can get very messy and disorganized.
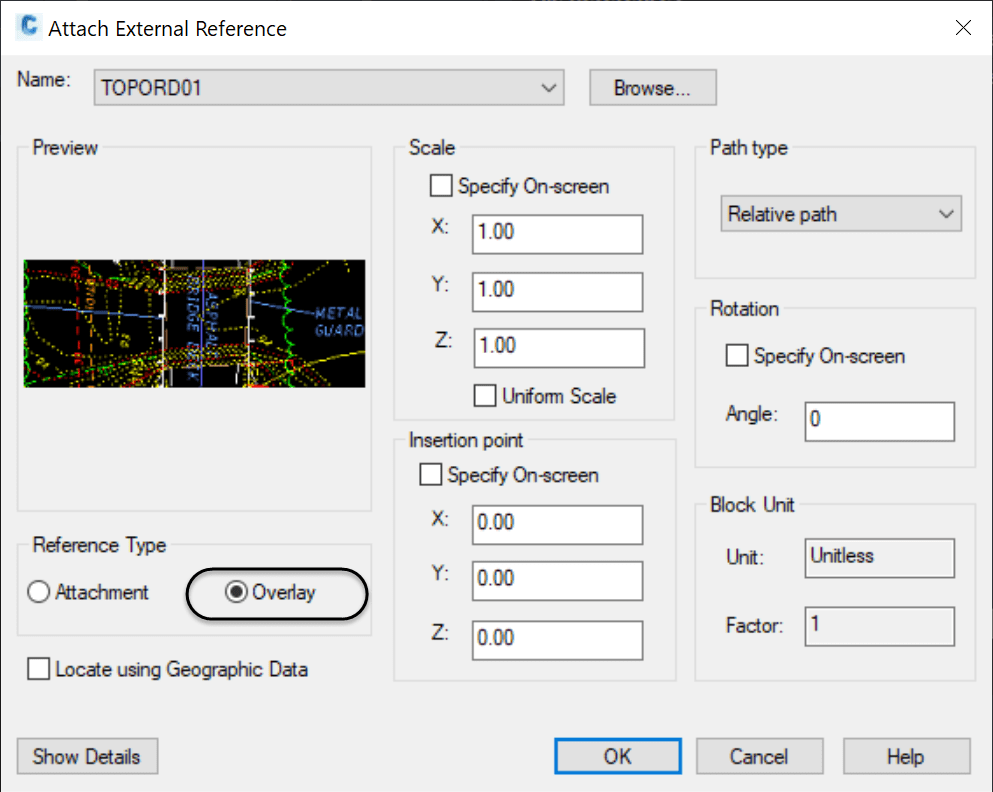
I once spent an hour trying to help another user track down why he couldn’t detach a specific DWG. It turned out I had to open up four other files to find where the attachment was coming from. If you do need the other files that may already be in the file you are referencing, simply attach them separately.
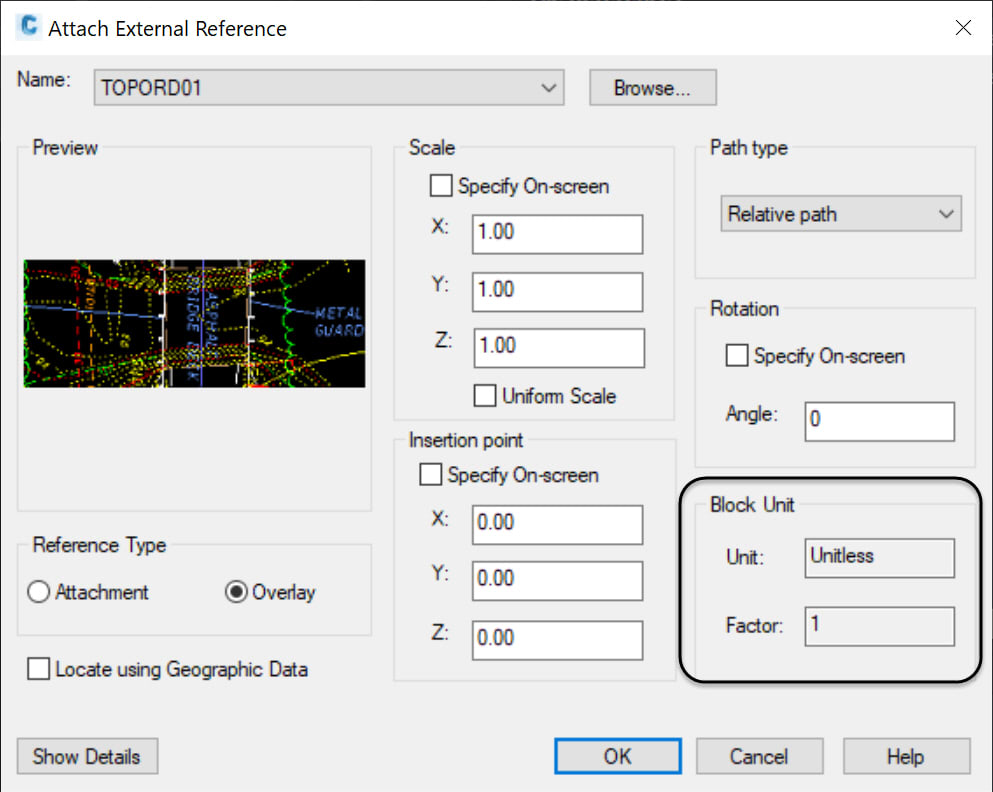
Lastly, when attaching DWG files, make sure you look at the Block Unit setting and make sure your DWG file is scaling (or not scaling) correctly.
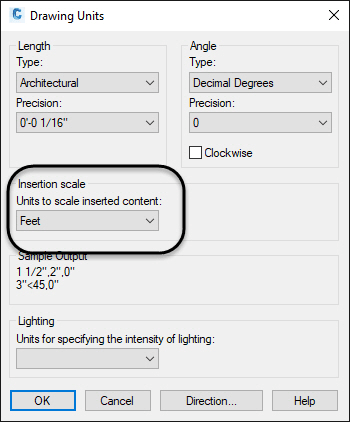
Insertion scaling is controlled in the UNITS dialog box.
Working With DWG References
Once you have your DWG file referenced into your drawing, there will be times when you want to interact with it. Here are my top 7 tips and tricks to working with reference files.
Tip #1: Create Clipping Boundary
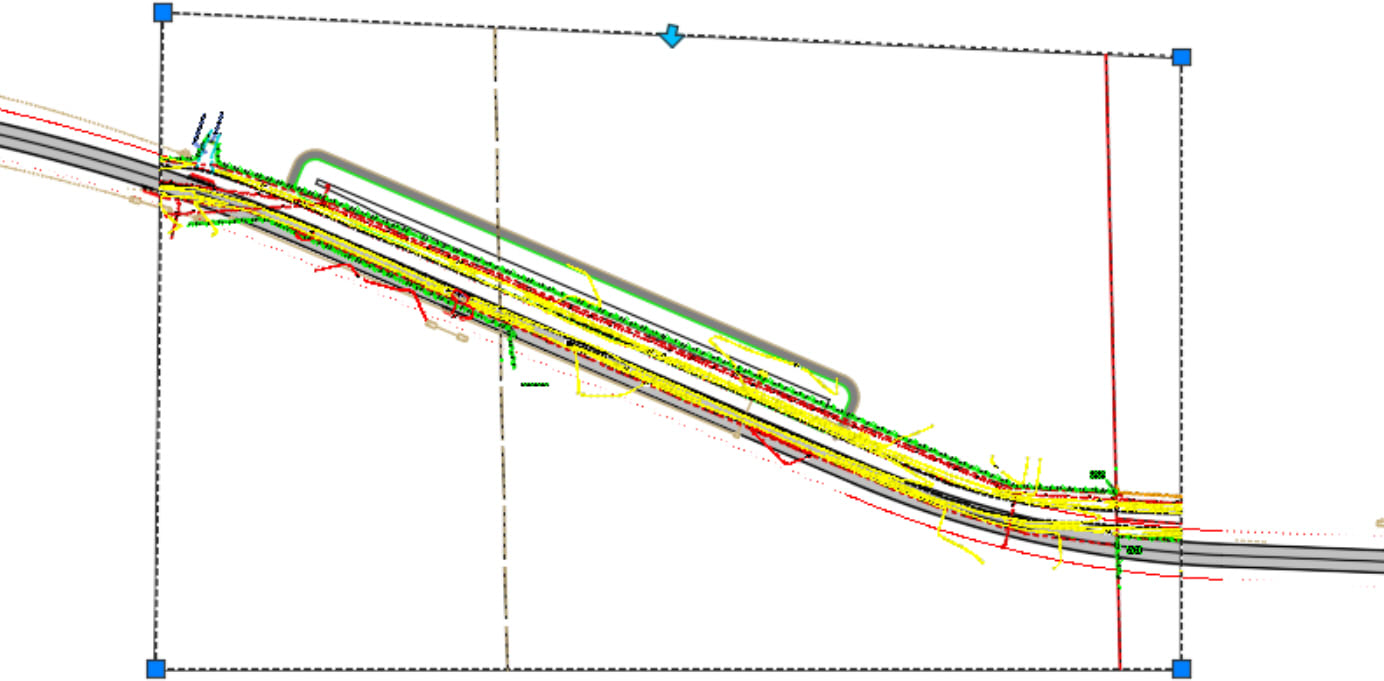
As soon as you reference a file into your drawing, I recommend that you clip it if you do not need the entire area of the reference file. To do so, simply select any graphic from the reference file and choose the Create Clipping Boundary tool in the Ribbon.
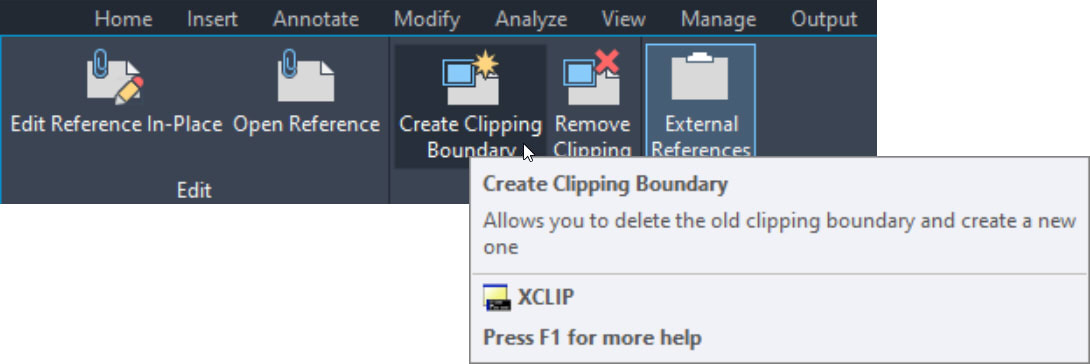
Just follow the command line prompts to clip your reference file to the desired boundary.
Tip #2: Open Reference
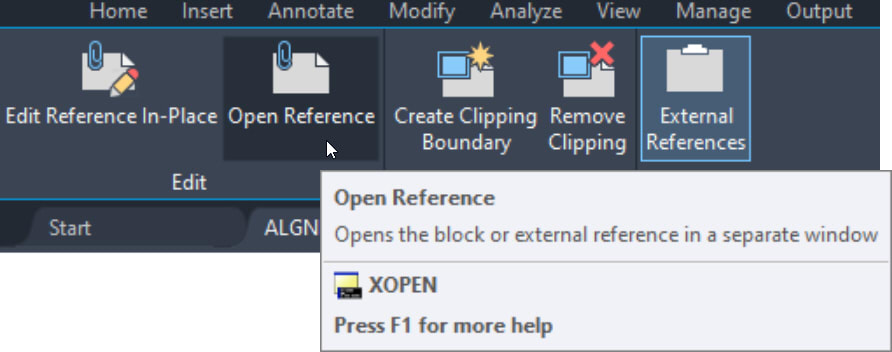
Sometimes you want to open the reference file(s) in your drawing and fix something in them. To do so, simply select the reference file and choose Open Reference from the Ribbon.
Tip #3: Layer Freeze
If your reference file is too congested in your drawing, freeze the layers in the reference file. Simply use the Layer Freeze command to do so. When you select an object in the reference, the layer inside it is frozen—not the layer that the reference file is on.

Tip #4: XLIST
This is one of my favorite tips when working with references. There are many times you will want to know what layer something is on. Of course, if you select the reference file, it chooses the whole reference file.
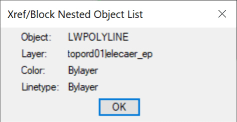
Simply type XLIST in the command line, select the object, and a dialog box will appear telling you what the object is in the reference file, as well as what layer the object is on. (BTW, this command works on blocks, too. Cool!)
Tip #5: Right-Click
Although the Ribbon contains some reference file-related tools, nothing is as fast as the right-click menu. Simply select the reference file and right-click to choose from all the reference-related tools.
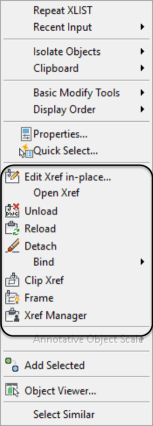
And if you need to turn a reference file “off,” then the fastest way to do this is to Unload it. Hint, use the right-click menu listed above.
Tip #6: Invert
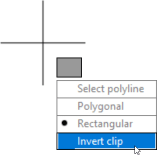
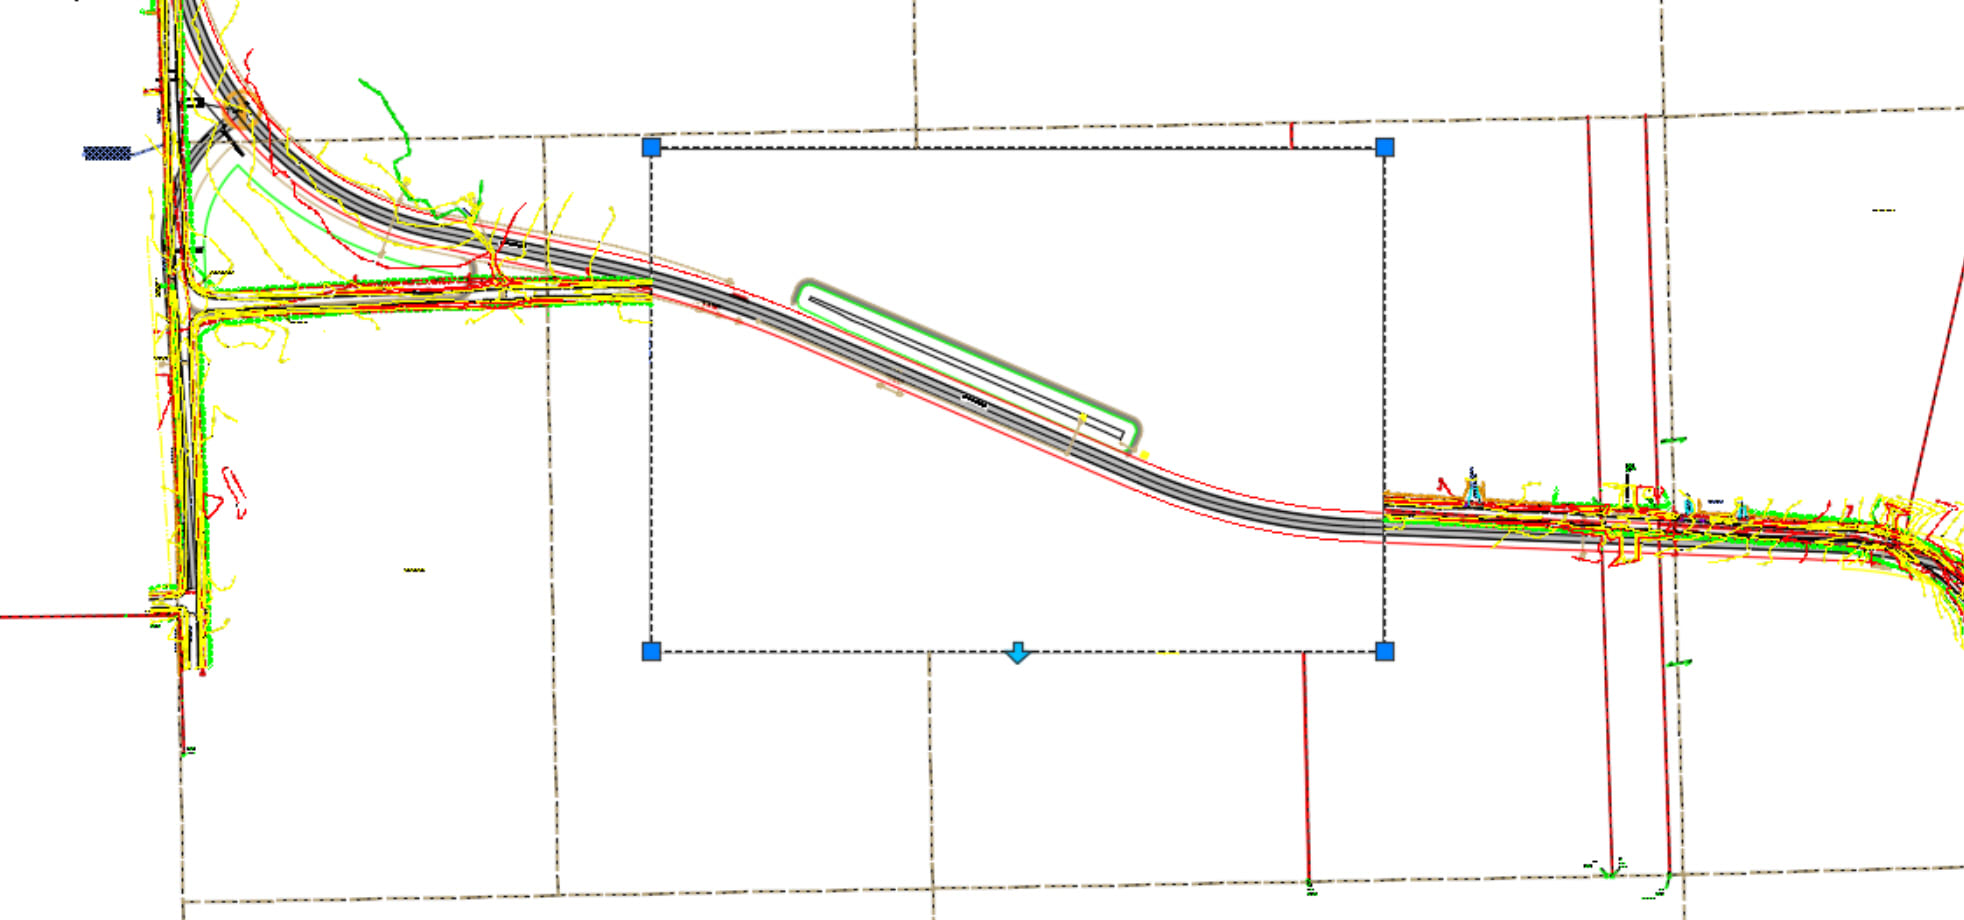
Want to create a “hole” in your reference? Simply choose the Invert clip option from the Clipping Boundary tool.
Tip #7: NCOPY
Need to copy an object from a reference file into the current drawing file? Type NCOPY in the command line, select your object, and pick the from/to point to copy it into the active file. If you want it to be copied in the same location as the reference file, simply press ENTER twice after you select your objects.
And that will do it! I hope these tips will now will be a help when referencing drawings.
Source: Autodesk


