And you thought you’d heard the last about bootstrapping your AutoCAD® deployments! In a way, you have. Unlike my last post (Bootstrap AutoCAD Deployments for Customizations Part 6) this bonus post concerns AutoCAD-based products such as AutoCAD Civil 3D and AutoCAD MEP. Many of these products sport a Content Browser, which is where many of you will support custom catalogs. To make sure those catalogs are loaded, you can add them to the bootstrap. See how nicely it all ties together?
Contents
A quick note about republishing catalogs
Republishing catalogs can keep them small and efficient. But I have found it’s usually best to publish a catalog only once per AutoCAD version. That’s because republishing changes the catalog’s globally unique identifier (GUID, pronounced “gwid” or “goo-id”), which makes it difficult to refresh catalog updates.
My recommendation: Publish your previous catalog to a new, version-specific location with each new release, and update the catalog for the new version without republishing.
How to gather the needed catalog information
Before you can bootstrap the loading of the catalog in the Content Browser, you need to gather data—all of which, thankfully, can be found in the Content Browser itself after you publish the catalog to its final destination.
You’ll need:
- Registry key
- ItemID (this is the GUID)
- Image
- URL
- DisplayName
- Description
- CoverPage
- Publisher
- Tooltip
The easiest way to find this data is by exporting the catalog to a registry file. Just:
- Launch the Content Browser
- Hold down the Shift key
- Right-click the catalog
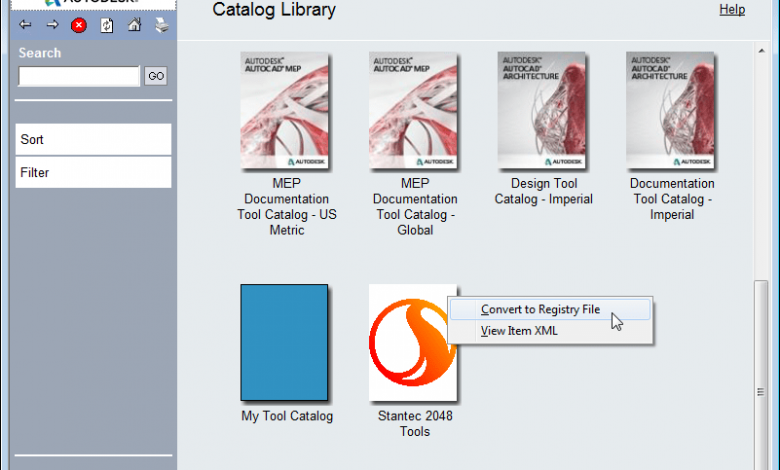
- Select the Convert to Registry File item; see Figure 1
Figure 1: Export the catalog data to a registry file.
You’ve exported the catalog data. Now what?
Open the registry file in a text editor. If you accidentally double-click the .reg file, Windows may ask if you want to merge the registry file. Select “No” and open the file from your text editor. Don’t worry if you accidentally selected “Yes” to the merge question; it won’t mess up anything because, in this case, the information came from the registry.
Note: Don’t double-click any .reg file and merge unless you know what you are doing!
All the information you need is in the registry file. See Figure 2. You’ll simply copy and paste the relevant parts—only the registry key, which requires double backslashes, needs editing—directly into a batch of (wait for it) new bootstrap code.

Figure 2: Sample registry file with catalog information.
I’ll provide the bootstrap code and explain how it works in my next—and final! Promise!—bootstrapping post. See you next week!
Here’re all the previous installments:
Bootstrap AutoCAD Deployments for Customizations Part 1
Bootstrap AutoCAD Deployments for Customizations Part 2
Bootstrap AutoCAD Deployments for Customizations Part 3
Bootstrap AutoCAD Deployments for Customizations Part 4
Bootstrap AutoCAD Deployments for Customizations Part 5
Bootstrap AutoCAD Deployments for Customizations Part 6
Source: Autodesk
