Here on the AutoCAD blog, we talk a lot about software tips and tricks, and offer tutorials on the benefits of customization. But when we spoke to AutoCAD community member Cathleen Jones, we were blown away by the way she combined a number of useful individual features into one great way to save time—and cut down on frustration.
As the CAD designer at SJ Cimino Electric, Inc., Cathleen handles electrical, fire alarm, and security systems, as well as the occasional photovoltaic (a.k.a solar) project, and is often tasked with performing engineering calculations for electrical feeders and voltage drops in both electrical and fire alarm systems.
“As a designer of fire alarm systems, I needed blocks that work with our bill of materials (BOM) and can sequentially number or re-number themselves, to name just a few of the design guidelines,” she says. “In fire alarm system design, there are a couple of proprietary software programs that work either with or without the AutoCAD engine, but as the employee of a small design-build contractor, purchasing additional software needs to be evaluated and the return on investment calculated.”
But because work deadlines often can’t wait for software evaluations, Cathleen tweaked her workflow to make better use of AutoCAD’s existing capabilities.
Contents
How She Did It
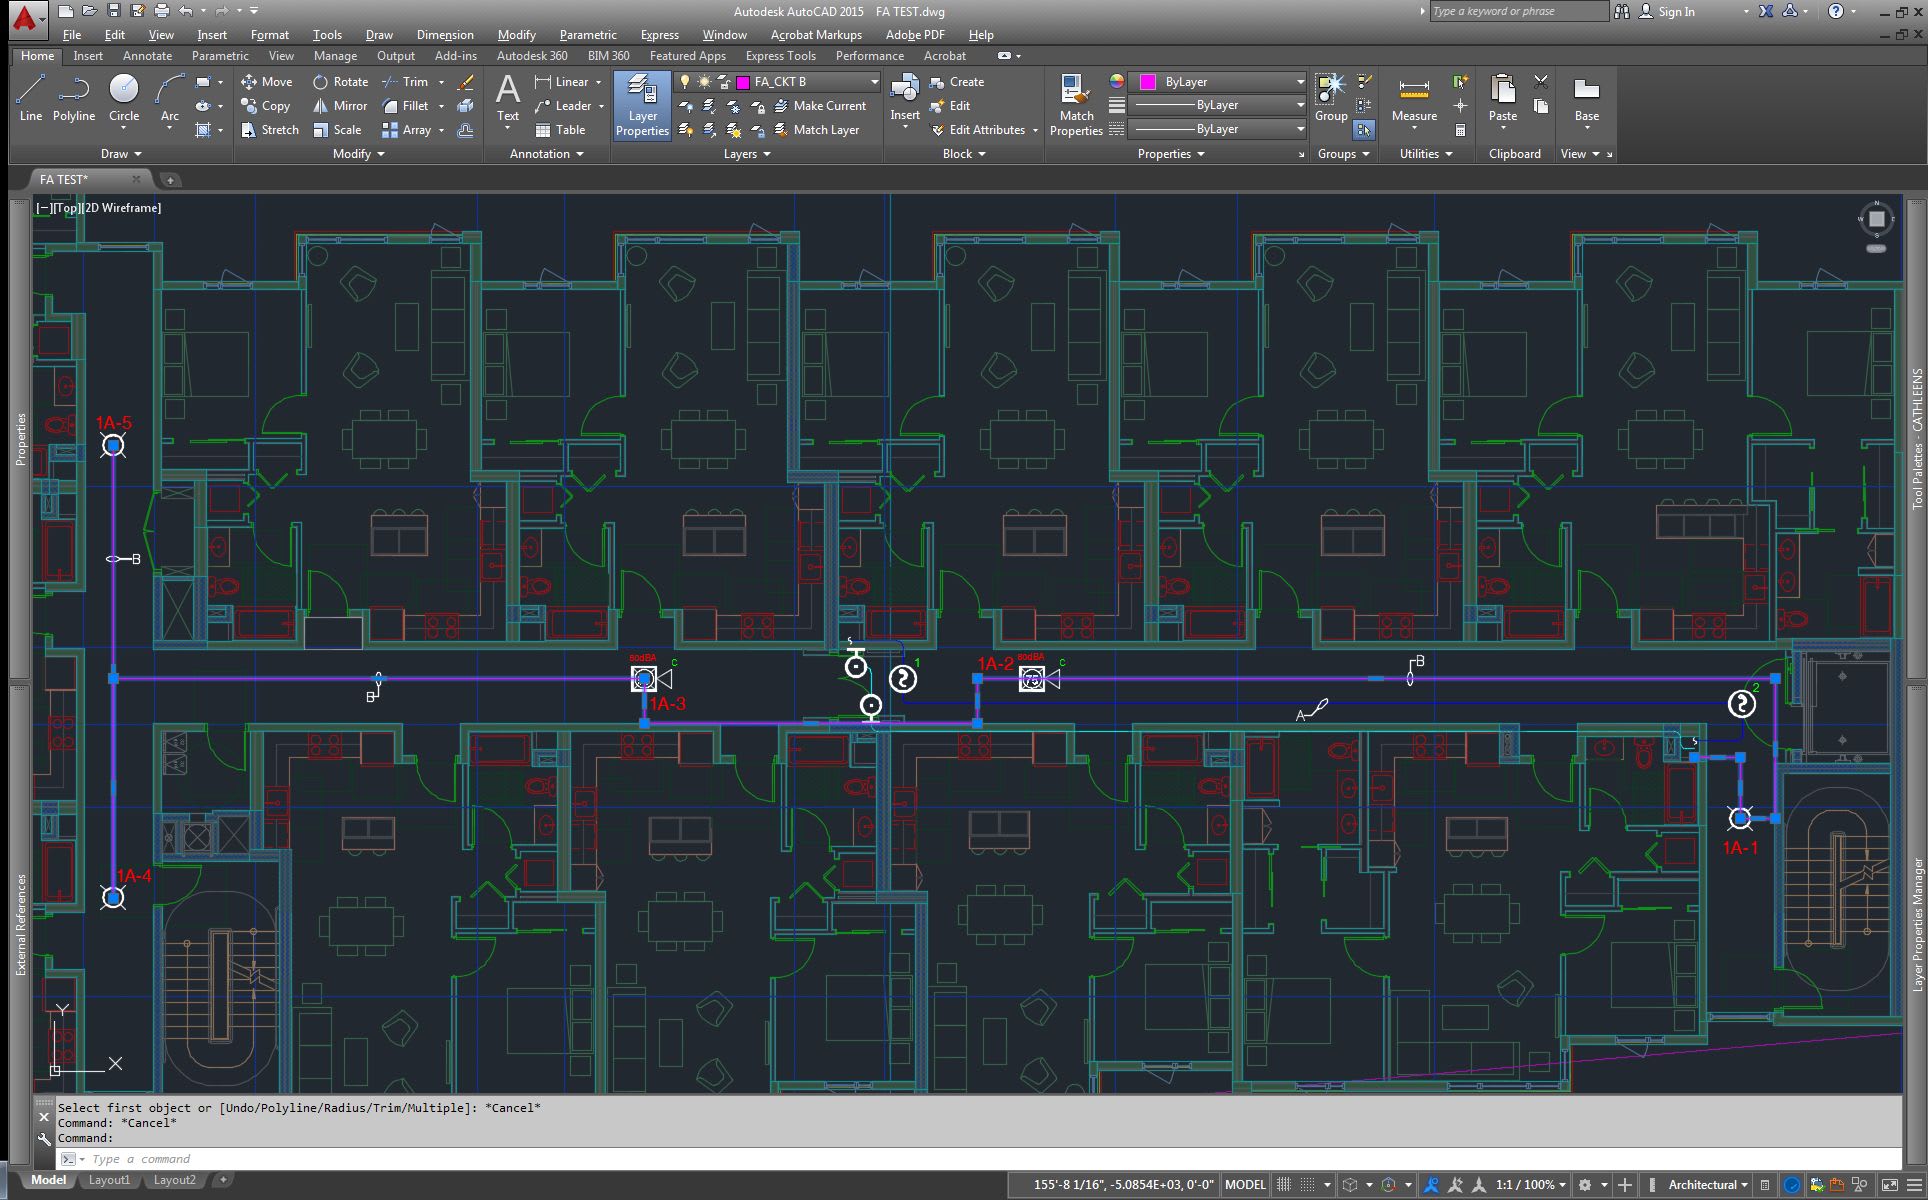
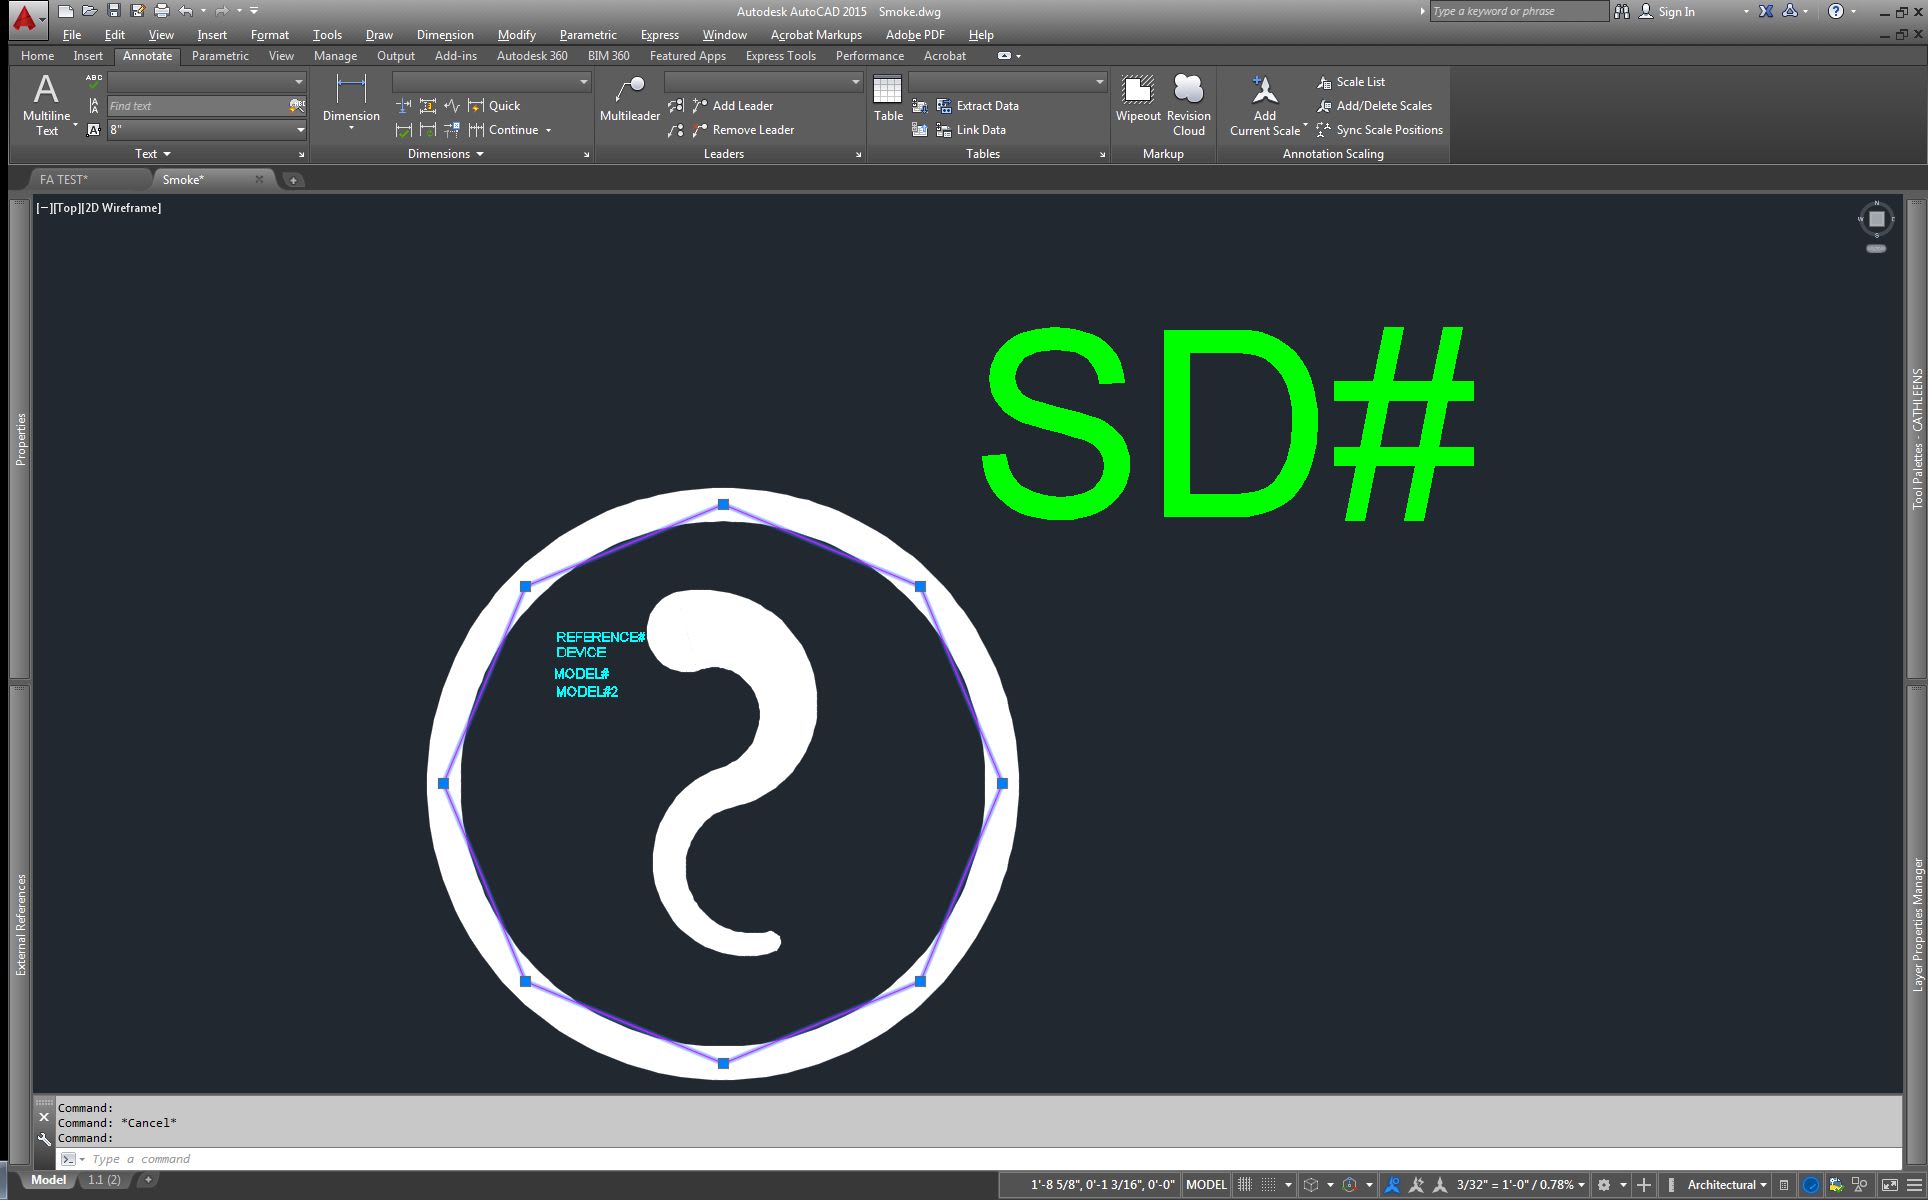
First, she made her blocks smarter by giving them multiple insertion points in order to quickly adjust the block for wall placement from multiple sides or locations—without having to rotate the block (or rendering the embedded text upside-down and tough to read).
Next, the counting structure was changed from separate text to an attribute connected to the block. “This way, when I remove or add a block in a sequence, I can extract the attributes and renumber them in Excel by dragging the corner down the column.” She just picked the blocks in the order she wanted to number them, saved the file, and imported it using the Import Attributes (ATTIN) Express Tool.
“After that, I added a WIPEOUT to the blocks so that I can run one continuous wire either on the Riser Diagram (or in Plan view) and place or move the devices without having the tedious chore of TRIM/EXTEND-ing the wires after each revision,” Cathleen explains.
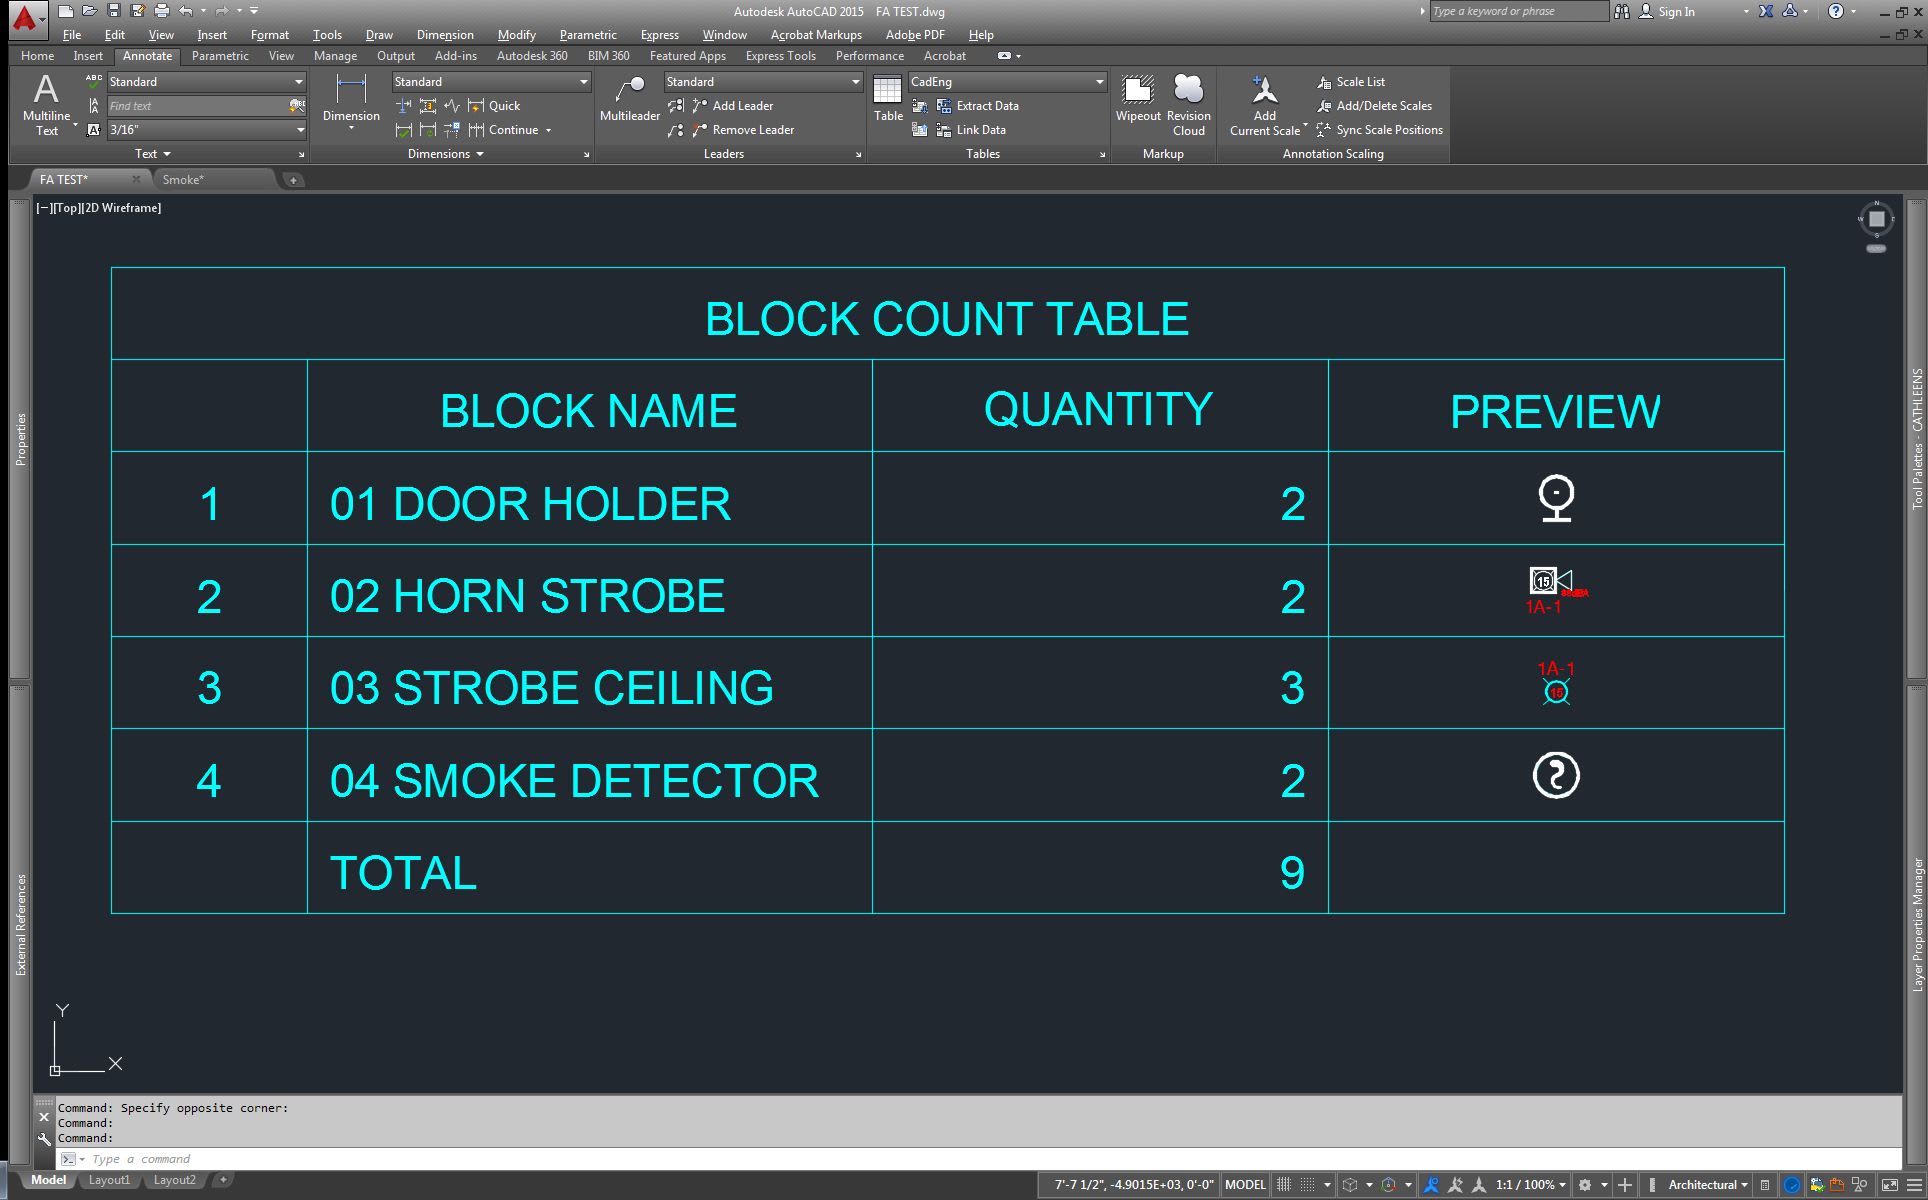
She then renames each block to show the actual part number, which makes the information she gathers via a LISP routine even more useful. “I have a couple of LISP routines,” she says. “One counts the blocks and lists them in a table showing the quantity and a preview of the block. The other one will count the number of PLINES on a layer and list their total length.”
Looking for step-by-step instructions? See exactly how Cathleen improved her workflow here.
The End Result
So, how has this helped Cathleen out? “These few changes have immensely improved the time it takes to create or revise my drawings and they only cost me a little bit of design time,” she says. Plus, they didn’t require an investment in new software, which can often disrupt or delay a workflow as you get up to speed on (yet another) interface, in addition to adding to the cost of a project.
Source: Autodesk
