A block is a combination of AutoCAD object types that make up a real-world object. For example, it could be a chair, manhole, door, utility pole, you name it.
Looking to learn how to create a block in AutoCAD? There are a few ways to do it. Here, we’ll discuss different ways to make a block as well as some tips to get blocks to do what you want.
Contents
Understanding Blocks
Let’s say we want to make a symbol for a telephone manhole from a bunch of CAD objects. And, on top of that, the manhole may be used to show that it is existing or that it is proposed, and they each need to look like the following image on the right.

You could make two blocks each with their own layer properties—or you can leverage a really cool functionality in AutoCAD.
First, everything in AutoCAD goes on a layer and has object properties (e.g., color, linetype, lineweight, etc.), and this includes blocks. That said, the objects “inside” the block can also go on their own layers. If you make a block of objects on their own unique layers, AutoCAD “locks in” what layer those objects are on. No matter what layer the block is on, none of the AutoCAD objects will look like the properties of the block.
And this is where layer 0 comes in. You can leverage this cool feature in AutoCAD where any objects that are on layer 0 (and set to ByLayer) and are in the block will take on the blocks layer properties. Now, understanding this functionality, let’s make one block called Telephone Manhole.
How to Create a Block in AutoCAD
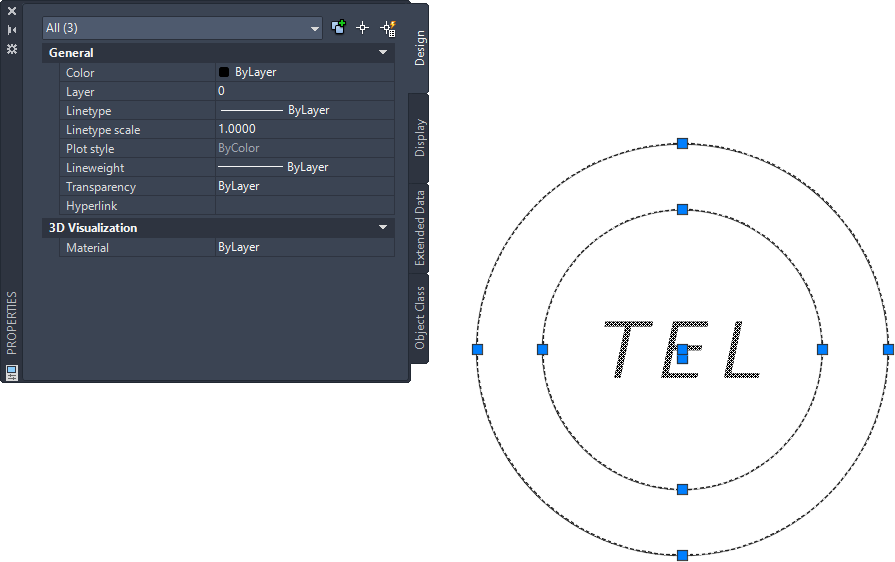
To use the layer 0 functionality in your block, let’s first set all the objects to layer 0 and set the properties to ByLayer.
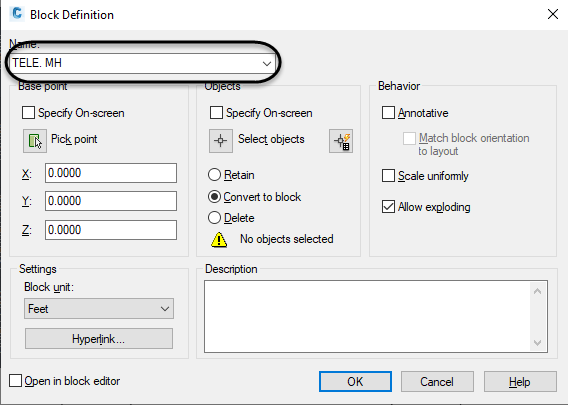
Type “B” in the command line to open the Block Definition dialog box. Starting from left to right, give the block a name.
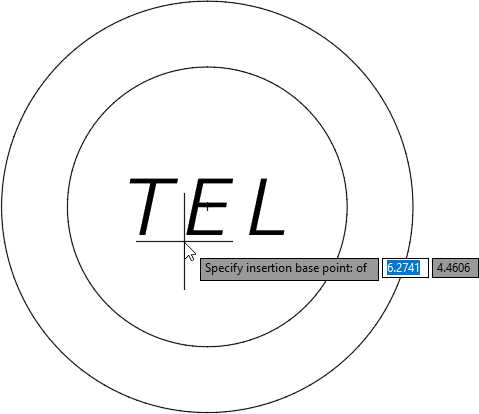
Now, you need to tell AutoCAD what the insertion point should be. In other words, when you place the block, the point about which the block appears at your cursor.
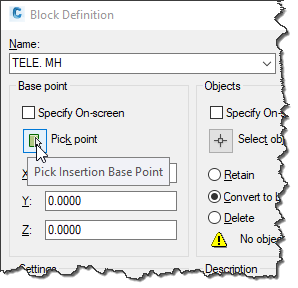
Click the Pick point button and choose the center of the circle.
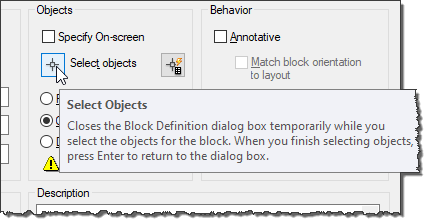
Click the Select Objects button and select the objects you want to be stored in the block.
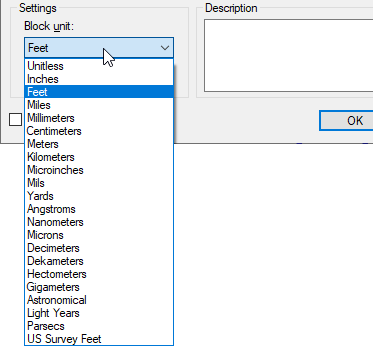
Be aware of the Block unit setting. AutoCAD has no idea what units in which you created the object; here is where to say what it is. Setting this will allow you to insert the block into other drawings with different units and to scale automatically.
If you have multiple block instances in the drawing, the objects inside the block will take on the block’s layer properties for whatever layer each block is on. Here, the block on the left is on the layer ManholeTel_ep (existing) and the block on the right is on layer ManholeTel (proposed). Notice the grip at the center of the block. This is the insertion point that is defined.

ByBlock…What the Heck is This Property?
Now, let’s talk about the ByBlock property. I always get the question, “What the heck is this property for?” It’s actually not that difficult to understand. The ByBlock property allows you to change the individual object properties in the block to use the block’s property (e.g., color, linetype, lineweight, etc.)
Take a look at this example below. If I change the property of the outside circle to ByBlock for the color, linetype, and lineweight, it allows me to change the blocks property’s and the circle will be affected by me doing so.

A Quick Way to Create a Block in AutoCAD
The last thing I want to discuss is how to create a block in AutoCAD quickly and easily. First, press CTRL+SHIFT+C on the keyboard, and then snap to the “insertion” point where you want the block to be defined. Then, select the objects from which you want to make a block and press ENTER.

Now, all you do is press CTRL+SHIFT+V (Paste as Block), and you have an unnamed block.

Source: Autodesk


