Dynamic Blocks – Workflow
Why?
In AutoCAD and Toolsets dynamic blocks contain rules and restrictions that control the appearance and behavior of a block when it is inserted into a drawing or when it’s later modified. You can add these rules and controls to any existing block as well as using them when you create new blocks. Dynamic blocks are a huge time saver and helps to easily manage your content, organize it and simplifies the re-use of your content in different projects.
How?
A variety of controls and behaviors are available for adding flexibility and efficiency of working with blocks. Some examples of how you could use dynamic blocks include the following:
- Automatically align a block to the geometric objects that represent a wall or a pipe
- Create additional movement grips on a block
- Add multiple insertion points so you can cycle through them by pressing Ctrl when inserting a block
- Choose whether a block is flipped or mirrored when inserted
- Control the size or shape of a block to standard increments such as the length of a fastener or width of a door
- Display a family of parts or similar styles in a tabular format to choose different versions of the same block
If you notice an action that you commonly repeat when you work with blocks, you may be able to reduce the amount of trivial work and achieve substantial gains in efficiency.
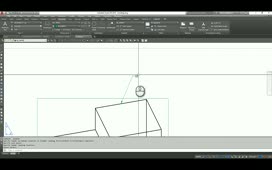
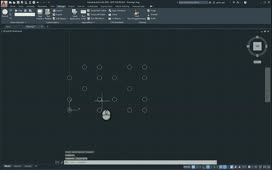
Workflow (applying the rotate and visibility state parameters to combine multiple blocks)
- In AutoCAD (or Toolsets) open the drawing that contains your content
- Orginise your content that you would like to include in a dynamic block
- Select the content and type the BLOCK command
- Name the block and select “Open in block editor”
- Move the selected content over each other and align as necessary
- From the block authoring palette, select the Rotation parameter
- Place the initial point in the middle of your block and move the second point to a location were you would like to place the action snap point for this parameter
- From the Actions, select the Rotate action
- Select the Rotation parameter created earlier and then the elements you wish to rotate with this action
- From the block authoring palette, select the Visibility parameter
- Place the parameter close to the object within your block
- Once the parameter was placed note that Visibility ribbon becomes active
- Choose Visibility States from the ribbon
- Set up your visibility states by selection New… and giving the visibility state a name
- When done hit the OK button
- Choose Test Block to test your setup
- If you are happy with the results, close the test block environment
- Save the changes to your block by closing the block editor
Source: Autodesk


