Contents
How do you wrap an image in Inventor?

How do you add a picture to the surface in Inventor?
1. Create a part file.
2. Click 3D Model tab Sketch panel Create 2D Sketch and then select the extrusion face.
3. Click Sketch tab Insert panel , click Image.
4. In the graphics window, click to place the image and then position it as desired.
How do I use the decal tool in Inventor?

How do you emboss text in Inventor?
1. If necessary, in the browser, click the Emboss feature to expand its contents.
2. Right-click the Sketch icon, and then click Edit Sketch.
3. In the active sketch, right-click the text, and then click Edit Text.
4. In the Format Text dialog box, change text as necessary, and then click OK.
How do I add an image to Autodesk?
1. In the toolbar, tap. Import Image.
2. Select an image from your your device and tap an image to import it.
3. Use the Transform tools to stretch, move, scale, rotate, and/or flip the image.
4. When finished, tap Done.
How do I insert a picture into Autodesk?
1. Click Insert tab References panel Attach. Find.
2. In the Select Image File dialog box, select a file name from the list or enter the name of the image file in the File Name box. Click Open.
3. In the Image dialog box, use one of the following methods to specify insertion point, scale, or rotation:
4. Click OK.
How do you emboss an image in Fusion 360?
How do you label parts in Inventor?

How do you type in Inventor?
On the ribbon, click Sketch tab Create Panel Text . In the graphics window, click to place the insertion point for the text box, or drag to define the area of the text box. Tip: In a drawing sketch with no commands active, press T to activate the Text command. Click in the graphics window to place the text box.27 jan. 2020
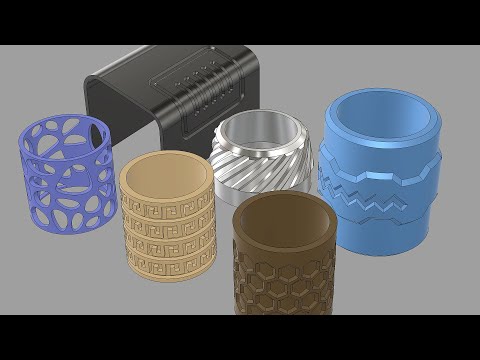
How do you carve in Inventor?
1. Specify the depth.
2. Click Wrap to Face to wrap the profile on a curved face.
3. Click Flip to set the direction.
How do you extrude words in Inventor?
There are many commands in Autodesk Inventor that will perform an extrusion. The most user friendly way to use with text is the emboss command which is a form of an extrusion. To begin this command, click on the “Emboss” icon in the toolbar, above the “Create” drop-box. Select sketch to extrude.11 avr. 2020
How do you edit a picture in Autodesk SketchBook?
To launch SketchBook Pro from Inventor Publisher, click an image annotation and select Annotation tab SketchBook panel Edit in SketchBook Pro. Note: The Edit in SketchBook Pro command is available only when you have the Autodesk SketchBook Pro installed on your machine.26 oct. 2014
How do I trace an image in Autodesk SketchBook?

How do I insert a JPEG into Inventor?
To insert an image into a drawing simply go to the Manage tab and Click the “insert object” button on the insert section. Then click create from file and browse to your image..30 mar. 2011
Can you import a JPEG into AutoCAD?
Click Insert tab References panel Attach. Find. In the Select Image File dialog box, select a file name from the list or enter the name of the image file in the File Name box.